Glock drop-in triggers: flat vs curved and what changes
A drop-in trigger is the most popular Glock upgrade after sights, and the most misunderstood. It does not make the pistol fire faster or differently; it changes how the pull feels and how far the finger moves. This guide explains what a drop-in trigger is, what it changes and what it must leave alone, the flat-versus-curved question, which generation each one fits, and how to install and check one.
What a drop-in trigger is
A Glock trigger assembly is a trigger shoe, the part your finger touches, pinned to a trigger bar, the steel stamping that reaches back to the connector and the striker. A drop-in trigger replaces the shoe, or the shoe and bar together, and sometimes adds set screws to adjust pre-travel and overtravel. It fits into the factory trigger housing with the factory connector, or a connector sold with it, and it installs without cutting or filing. Everything else in the fire-control group stays: the firing pin safety, the striker, the trigger housing and ejector.
What it changes
- Pre-travel: the slack before the wall. Many drop-ins shorten it with a set screw or a reshaped bar tab, so the finger reaches the wall sooner.
- Wall and break: the point where resistance rises and the shot fires. A polished bar and connector interface makes the break crisper; the connector sets most of the weight.
- Overtravel: movement after the break. A stop screw ends it, which keeps the finger closer to the reset.
- Reset: the click on the way forward. It does not change in distance on a factory bar; some aftermarket bars shorten it slightly.
- Shoe shape and face: flat or curved, wide or narrow, and how the trigger safety tab sits in it.
What it must not change
The trigger safety tab must still block rearward movement until it is pressed. The firing pin safety plunger must still be lifted by the trigger bar's ramp only when the trigger is pulled. The drop safety, the cruciform on the trigger bar resting on the shelf in the housing, must still hold the striker until the connector pushes it down. A drop-in trigger that shortens pre-travel so far that the firing pin safety is already lifted at rest has defeated a safety, and the pistol can fire if dropped. Reputable makers design to keep all three; a set screw turned too far can undo it, which is why the checks at the end of this page matter.
Flat versus curved
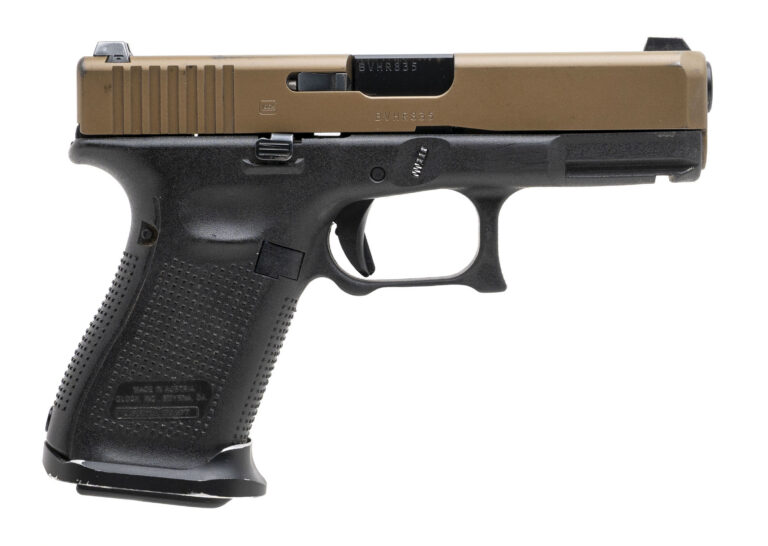
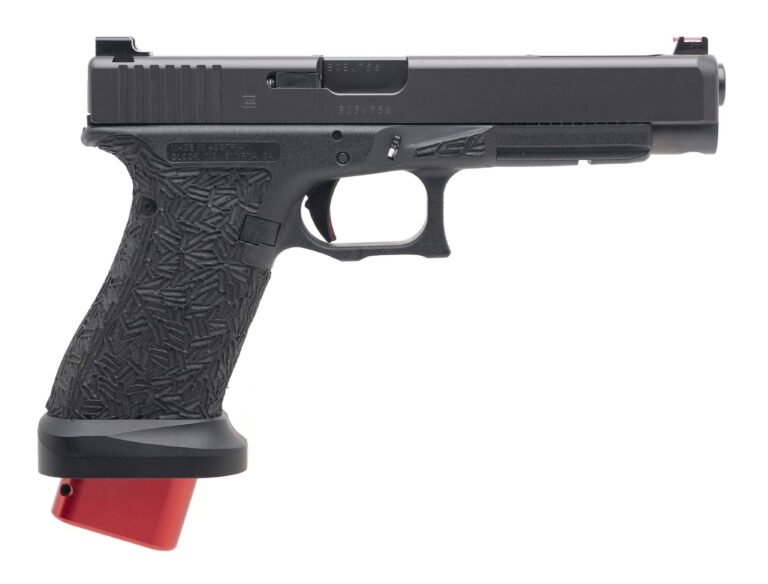
The factory Glock trigger is curved with a center safety blade. A flat-faced trigger puts the finger lower on the shoe, which increases leverage and makes the same pull weight feel lighter, and it gives a consistent finger position from shot to shot. Many shooters find a flat trigger feels crisper even when the measured weight is the same. A curved trigger is what most people learned on and it guides the finger to the same spot naturally. Neither is safer or faster by itself; try both if you can. Glock's own Performance Trigger, introduced for Gen 5 pistols, is flat-faced, which tells you where the market went.
Weight comes from the connector and springs
A trigger shoe does not set pull weight. The connector angle sets most of it, the trigger spring and striker spring add or subtract a little, and polish removes grit. A drop-in trigger sold as a 3.5 pound trigger is usually a shoe and bar packaged with a minus connector; the shoe alone on a factory connector will pull about what the factory trigger pulled, only cleaner. Read connectors explained before you buy a trigger for its weight.
Generation fit
Gen 1 through Gen 4 triggers share one trigger bar pattern and fit each other's frames, with the caveat that Gen 4 pistols with the larger magazine catch may need a bar cut to clear it, which makers note. Gen 5 pistols use a different trigger bar, housing and firing pin safety and take Gen 5 triggers only. The slimline 43, 43X and 48 have their own narrower trigger and bar. The .45 and 10mm large-frame pistols use a wider trigger bar. Buy by model and generation; every listing here states it.
Installation
Unload the pistol and remove the magazine, then confirm the chamber is empty twice. Field strip. Push out the trigger housing pin, the trigger pin and the locking block pin with a punch, lift out the slide stop lever and the locking block, and lift the trigger housing with the bar attached out of the frame. Separate the bar from the housing, fit the new trigger and bar into the housing with the connector, and reverse the steps, seating the trigger spring on its hooks. Reinstall the pins in the right order: locking block pin first, then trigger pin, then housing pin. A full step-by-step takes ten minutes the first time and two the third.
Function checks
- Trigger safety: with the slide on and the pistol empty, press the trigger from the side, avoiding the tab; it must not move.
- Firing pin safety: with the slide off, the plunger must be flush and spring loaded; with the slide on and the trigger at rest, the striker must not protrude from the breech face when the slide is pushed forward.
- Reset: pull the trigger, hold it, rack the slide, release slowly; it must click and the next pull must fire.
- Drop safety check: pull the trigger on an empty chamber; the striker must release only at the end of the pull. If it releases early or the pistol fires when the slide is slammed shut, stop and reset the screws.
- Live fire: 100 rounds of your ammunition, including the carry load, before you trust it.
Carry or range
For a carry pistol, a factory or flat shoe on a minus connector with factory springs is the sensible ceiling; the carry weight guide explains why. For a range or match pistol, go as light as the pistol stays reliable, then read springs and plungers. Browse drop-in Glock triggers; they ship to your door.
General information, not legal advice. Current as of September 2026. Laws change; check the official source before you act.